STREAMLINED BACKSHOP

at DCCTIPS.com


The NEW home for the "OLD" Tutorials Tip & Tricks

Tutorials, Tips & Tricks -->>

Tutorials, Tips & Tricks -->>

 
*******************

Email sales@sbs4dcc.com or call 317-201-4974 to discuss your project today!


*******************

Streamlined Backshop Services is an authorized dealer for all major DCC manufacturers including:


CT Elektronik

DCC Specialties

Digitrax

ESU-Electronic Solutions

Lenz USA

MRC Corporation

NCE Corporation

QSI Solutions

Soundtraxx

SPROG USA

TCS-Train Control Systems

Zimo USA


Be sure to contact us if you don't find what you are looking for.  We can ship most items in 5-7 business days.


*******************


Be sure to visit our YouTube channel at 
Streamlined Backshop Services to see video demonstrations of some of our projects.


******************

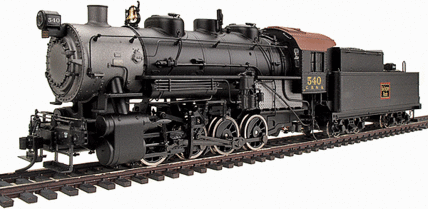
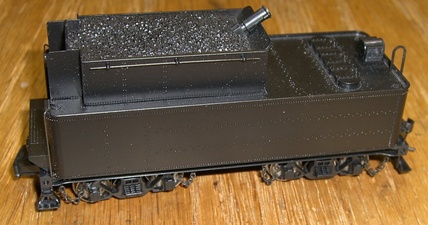
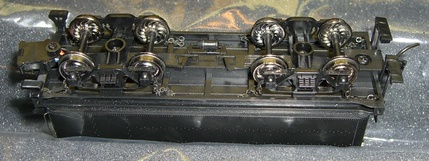
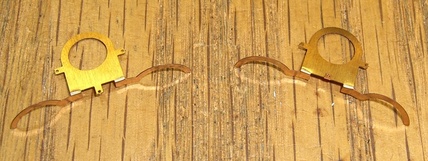
Be sure to visit our store,Streamlined Backshop Services, where you can purchase many great items like DCC Decoders and Command Stations, DCC Installation Parts, Locomotives and Rolling Stock, Ready-To-Run Sound Cars, and our exclusive custom-engineered truck pick-ups.


*******************

Be sure to visit our friends at www.hoseeker.netwhere you can find parts lists and diagrams of all your vintage and contemporary locomotives.


*******************

Walthers HO Scale Heritage Proto 2000 

0-8-0 Pickup Upgrades


Streamlined Backshop Services offers our exclusive wheel and axle wipers for sale to help modeler get the best performance from thier locos and rolling stock and to new and creative ways to utilize the power DCC on thier layouts.


While the axle wipers are fairly flexible in thier application, the wheel wipers are typically constrained by the axle spacing on the truck and the mouning lug on the truck or bolster frame.
 
I have measured these points on many different models and picked a couple of sizes that were "close enough" so that the contacts fit the intended model and as mony others as possible.
 
Such is the case with the HO-F4W-ATH wheel wiper.
 
This model was developed specifically to fit the Athearn R-T-R trucks but will fit on many other products including the Walthers HO Scale Heritage Proto 2000 0-8-0 that was a beautiful model but plagued by poor electrical pickup.  Turns out there is a simple fix for the problem!
 

Be sure to visit the store to see our full line of wheel and axle wipers today!


The Walthers HO Scale Heritage P2K 0-8-0

I am aware of at least two versions of the tender on this model being delivered over three production runs.


The first two runs did not have any contacts installed on the tender trucks.  Curiously, the models I used for this How To had all of the provisions in place to install them!  They simply lacked the parts.


The third run had axle wiper type pickups and was an improvement over the earlier models but this design is not very effective as there is limited sureface area at the point of contact and very little pressure applied to the joint.


SBS4DCC.com offers products to improve the performance of either version.


Recommended Tools and Supplies

There are a few tools and supplies recommended for performing these upgrades.
 
Tools:
Pliers
Soldering Iron (720° F recommended)
 
 
Supplies:
Tinning Flux
 

Version 1 Upgrades

The process for making this upgrade is very simple. 
 
Begin by placing the tender upside down in a cradle or other safe work-holder to minimize any damage to the model in the process.

Step 1 -


Remove the HO-F4W-ATH wheel wipers from the nest using the Xuron Pro Sprue Cutters or similar tool.  Be sure to remove any large burs left from the web that holds the part in the nest.


Then, using a of pliers or similar tool, form the wheel wipers as shown. 


Here is a demonstration of how to form the contacts... just in case.

NOTE: The wiper on the left shows the typical configuration of the wire solder lugs for use with most applications.  The wiper on the right shows how we are going to use them for this project.  We are going to bend the lug that is perpendicular to the wiper wings up instead of leaving it flat. By dumb luck, this matches up perfectly with the provisions for contacts that were designed into the tender.


Step 2 -


Cut (4) pieces of 32ga High-Flex Wire about 4 inches long.  Strip about 1/8 inch of insulation off the end and tin the wire.  Then, apply a small amount of tinning flux to the inside face of the contacts and solder the wire in place.


Step 3 -


Gently pry up on the head of the retaining pin for the truck chains to take one side loose.  Next, remove the king-pin secrew that holds the truck in place.  Then remove the screws that hold the shell onto the tender floor.


Step 4 -


Install (1) HO-F4W Insulating Washer over the boss on the tender floor bolster.


Step 5 -


Feed the wire through the existing slot in the tender floor and install (1) HO-F4W-ATH wheel wiper on top of the washer.


Step 6 -


Install (1) HO-F4W Insulating Washer over the first HO-F4W-ATH wheel wiper.


Step 7 -


Feed the wire through the opposite slot in the tender floor and install (1) HO-F4W-ATH wheel wiper and (1) HO-F4W Insulating Washer over the washer-wiper stack. 


The resulting stack should be washer-wiper-washer-wiper-washer. 


If you find it difficult to keep the stack piled up, you can use a VERY small drop of glue to keep the pile in place while you are trying to get it all assembled.


NOTE:  It really doesn't matter how each wiper is oriented in the stack or what color of wire you use.  Just try to be consistent  so that it looks nice when you are done.


Step 8 -


Re-assemble the trucks and retaining chains to the tender floor.  Be sure to get the washer-wiper stack cetered on the truck bolster before tightening the screw down.  Sorry... no easy tricks for this.  You just have to work with it.


NOTE:  There might be just a bit of resistance on the truck when finished but it should not impede the axial motion of the truck and the washer-wiper stack should not change the height of the floor to the rail head.


Step 9 -


Remove the crummy little black wire clips from the track-power lugs on the existing circuit board and throw them away. 


(Just my suggestion... use them if you like.)


NOTE: Be sure to verify which lug is which by testing for continuity between the tender wheels and loco drivers using a Multi-Meter.


Step 10 -


Solder the wires in place and test run the loco. 


If everything is happy, reassemble the shell and watch your little switcher crawl around the layout like never before!

Version 2 Upgrades

The process for making this upgrade is even easier. 
 
Begin by placing the tender upside down in a cradle or other safe work-holder to minimize any damage to the model in the process.


Using a toothpick, apply a small amount of ME Taylor Silver Conductive Grease at the point where the existing axle wiper contacts the axle of the wheel set and rotate by hand to distribute the grease around the axle.

The grease is effective because it creates a continuous path for the electricity to flow even when the axle is turning.


You can purchase most of the products used in this project today from my online store


Streamlined Backshop Services